
 Curve Piping
Curve Piping
Steps
In the Properties panel, click the Curve Piping button.
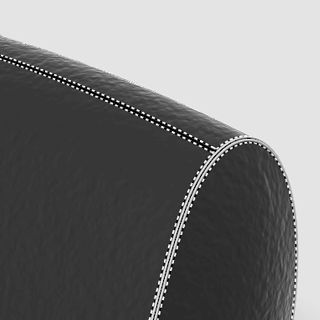
 Curves with curve piping in wireframe view (left) and shaded view (right).
Curve piping properties
Settings
Last updated
Was this helpful?