Cabochon Ring
What You’ll Learn
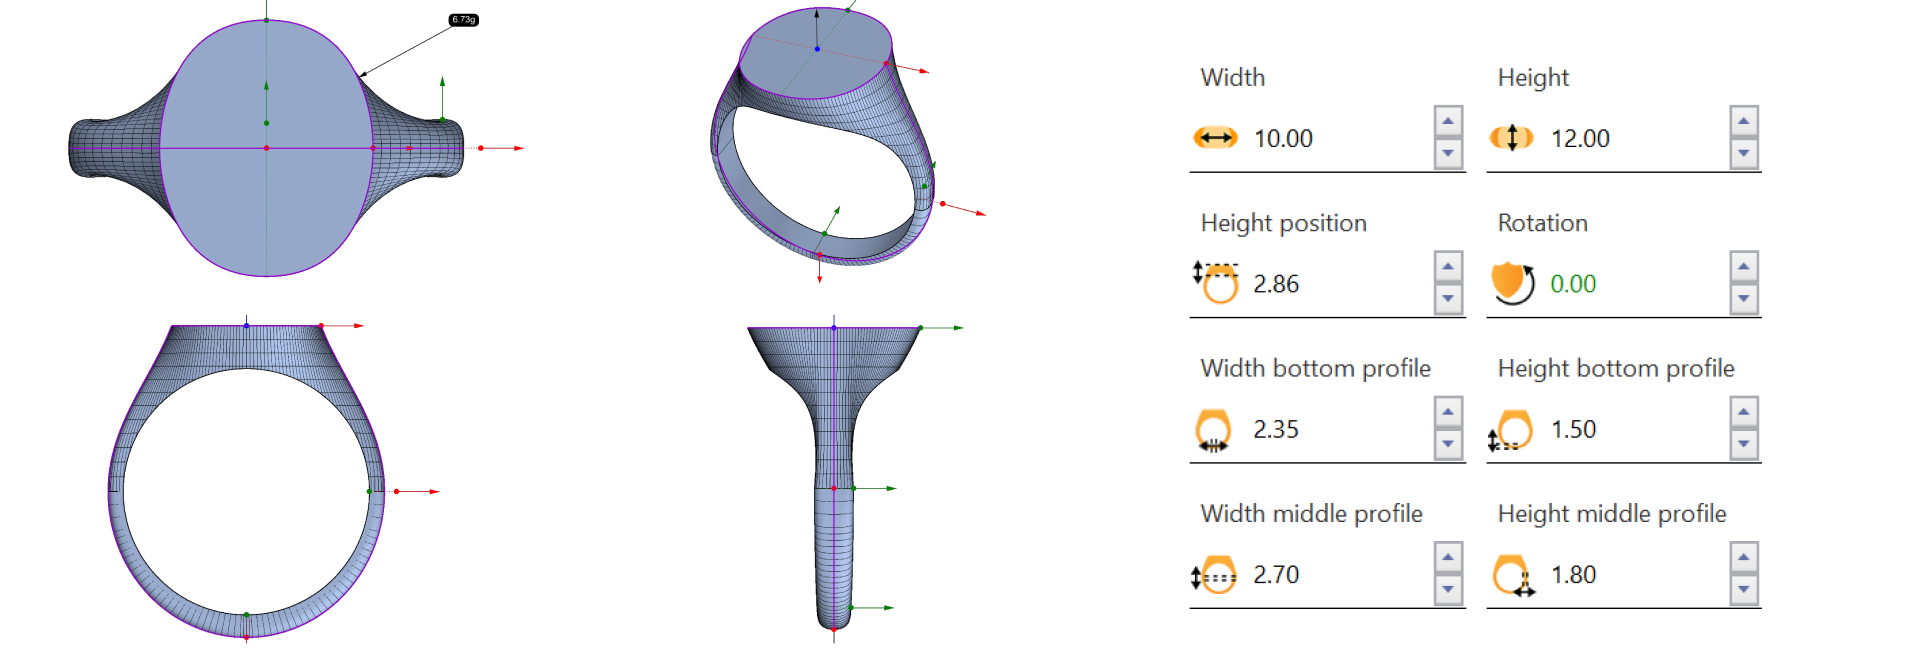
Creating the Shank Begin by crafting the ring’s foundation with the Signet command, creating a solid shank for a timeless cabochon setting. Customize dimensions to achieve the perfect shape and learn how to use profiles and parameters for an ideal ring band design. Discover the Recess and Boolean methods to create precise spaces, perfect for setting stones and adding custom elements.

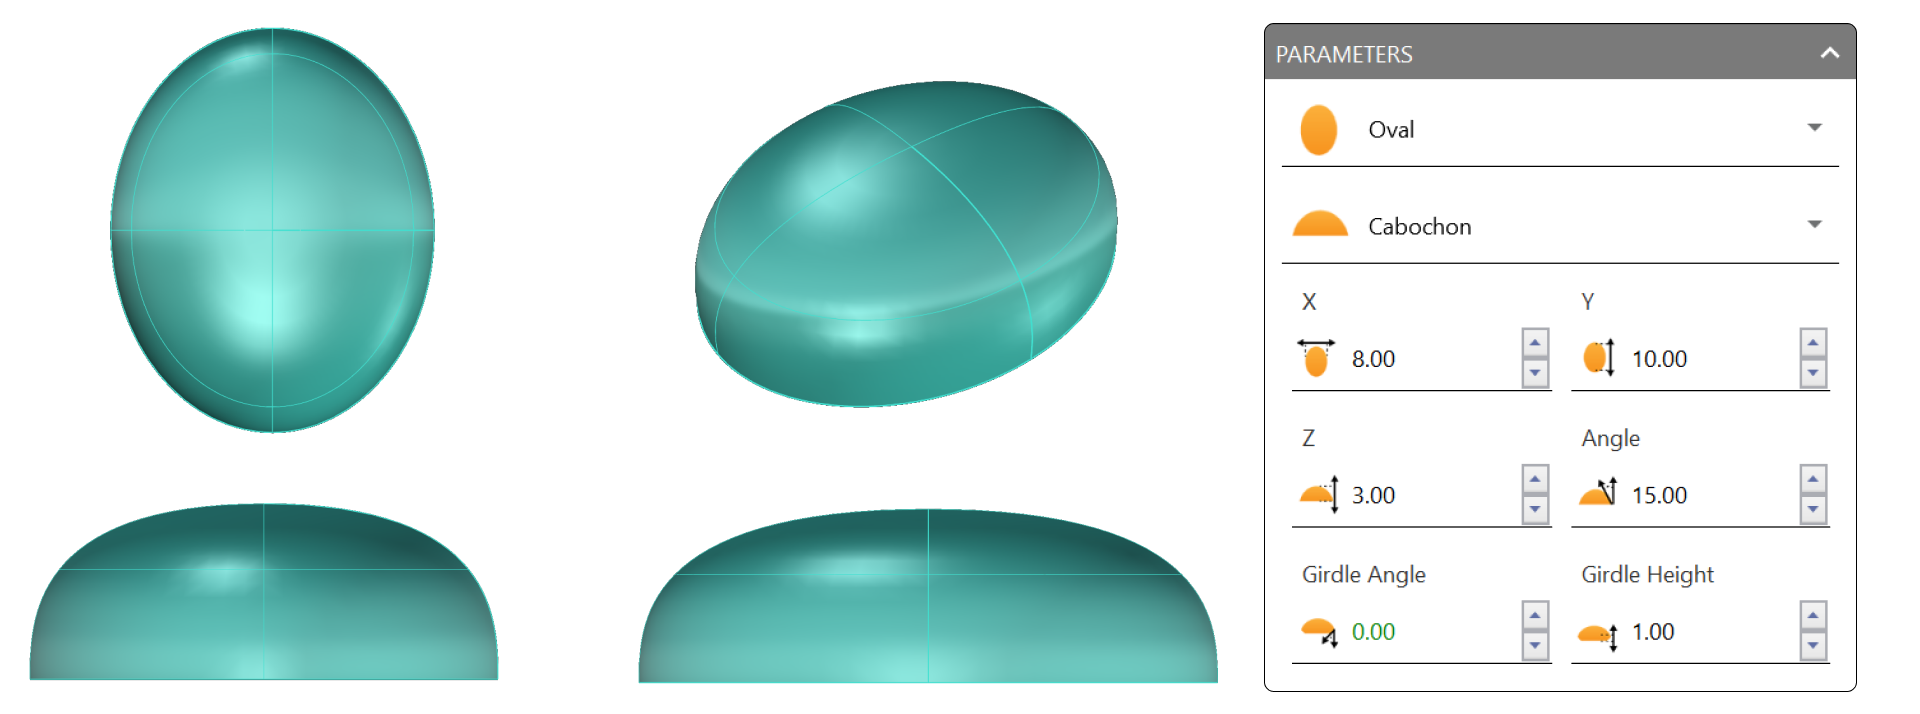
Designing the Cabochon Add an elegant cabochon to your design with precision. Set the gem in an Oval mode, adjusting its size and shape to fit seamlessly within the shank. Position the stone accurately using RhinoArtisan’s powerful Osnap tool for flawless alignment.

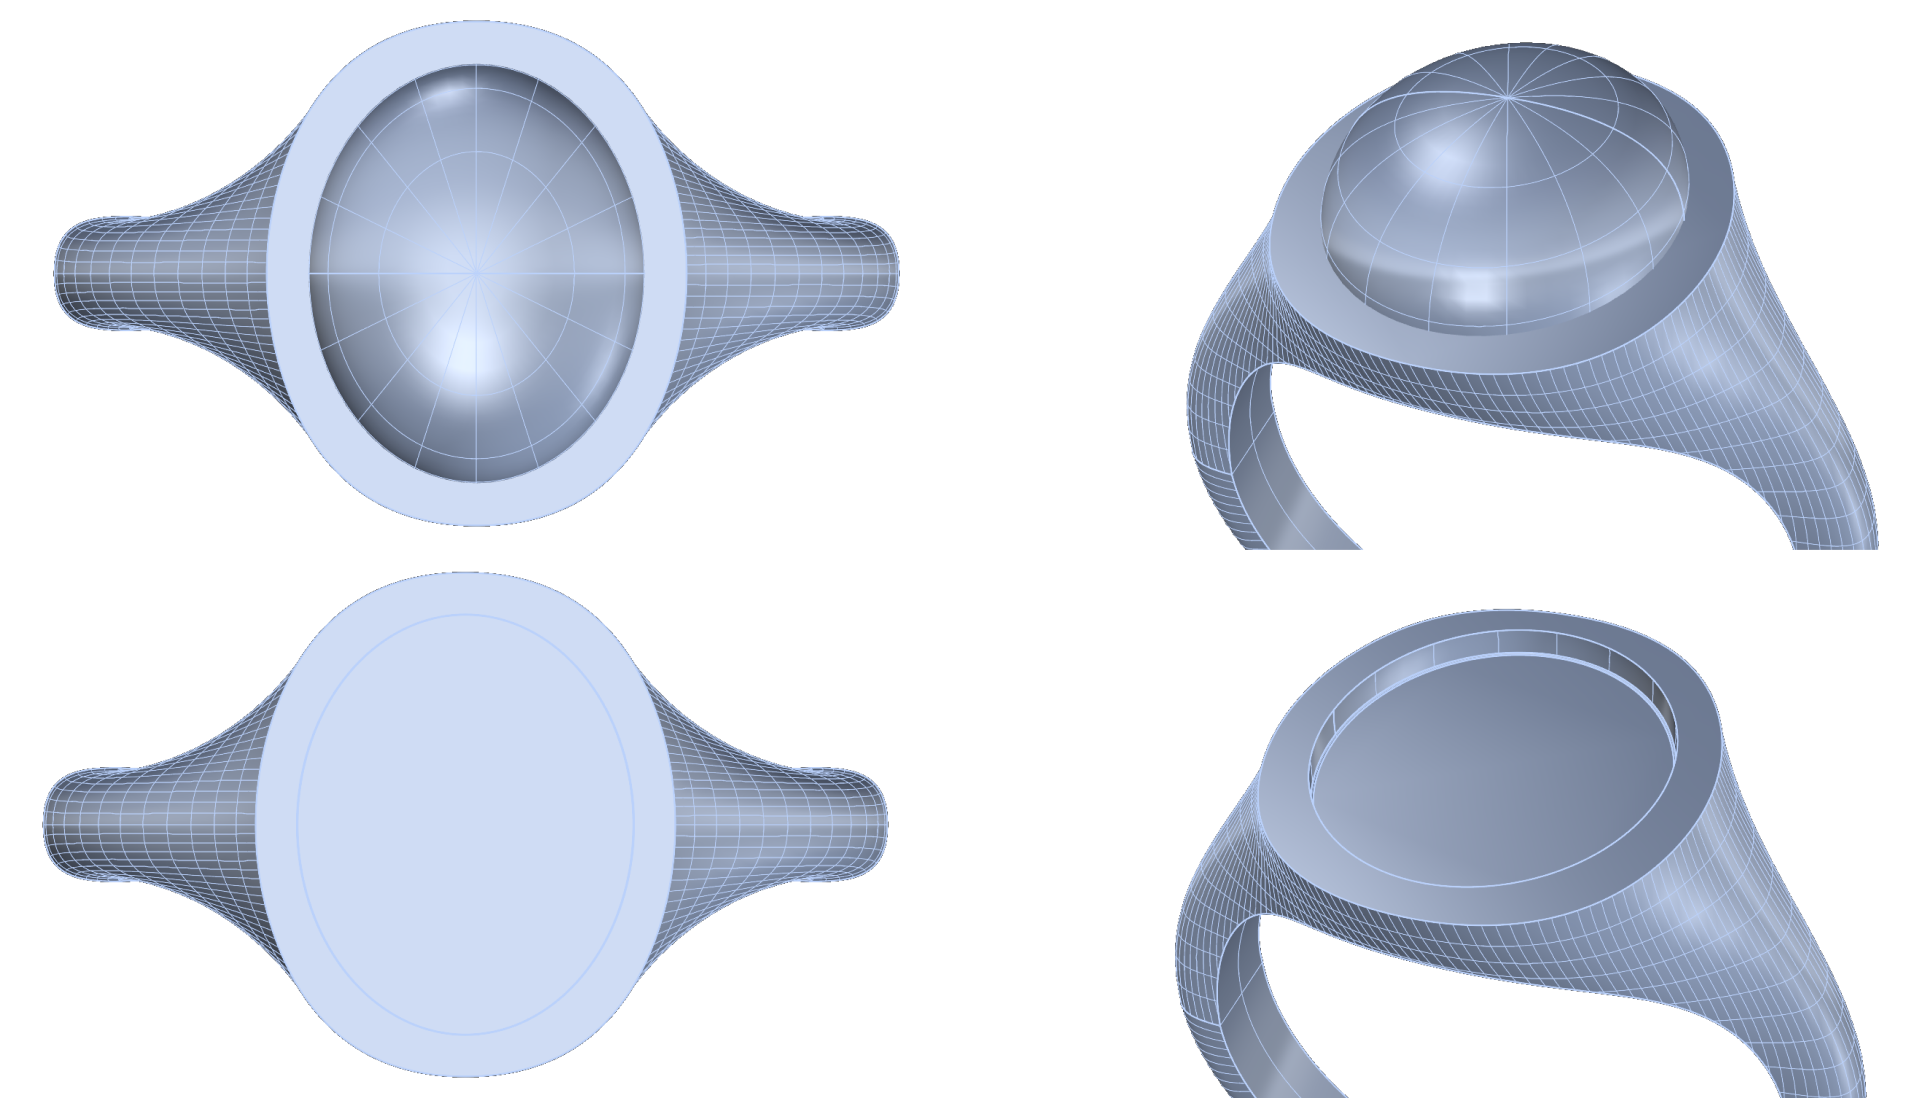
Perfecting the Fit Master the Offset and Boolean Difference techniques to create a perfectly fitted seat for the cabochon. This step ensures the gem sits snugly in the shank, creating a beautiful, professional finish. Examine the final adjustments using the Hide and Show commands to confirm everything is perfectly aligned.

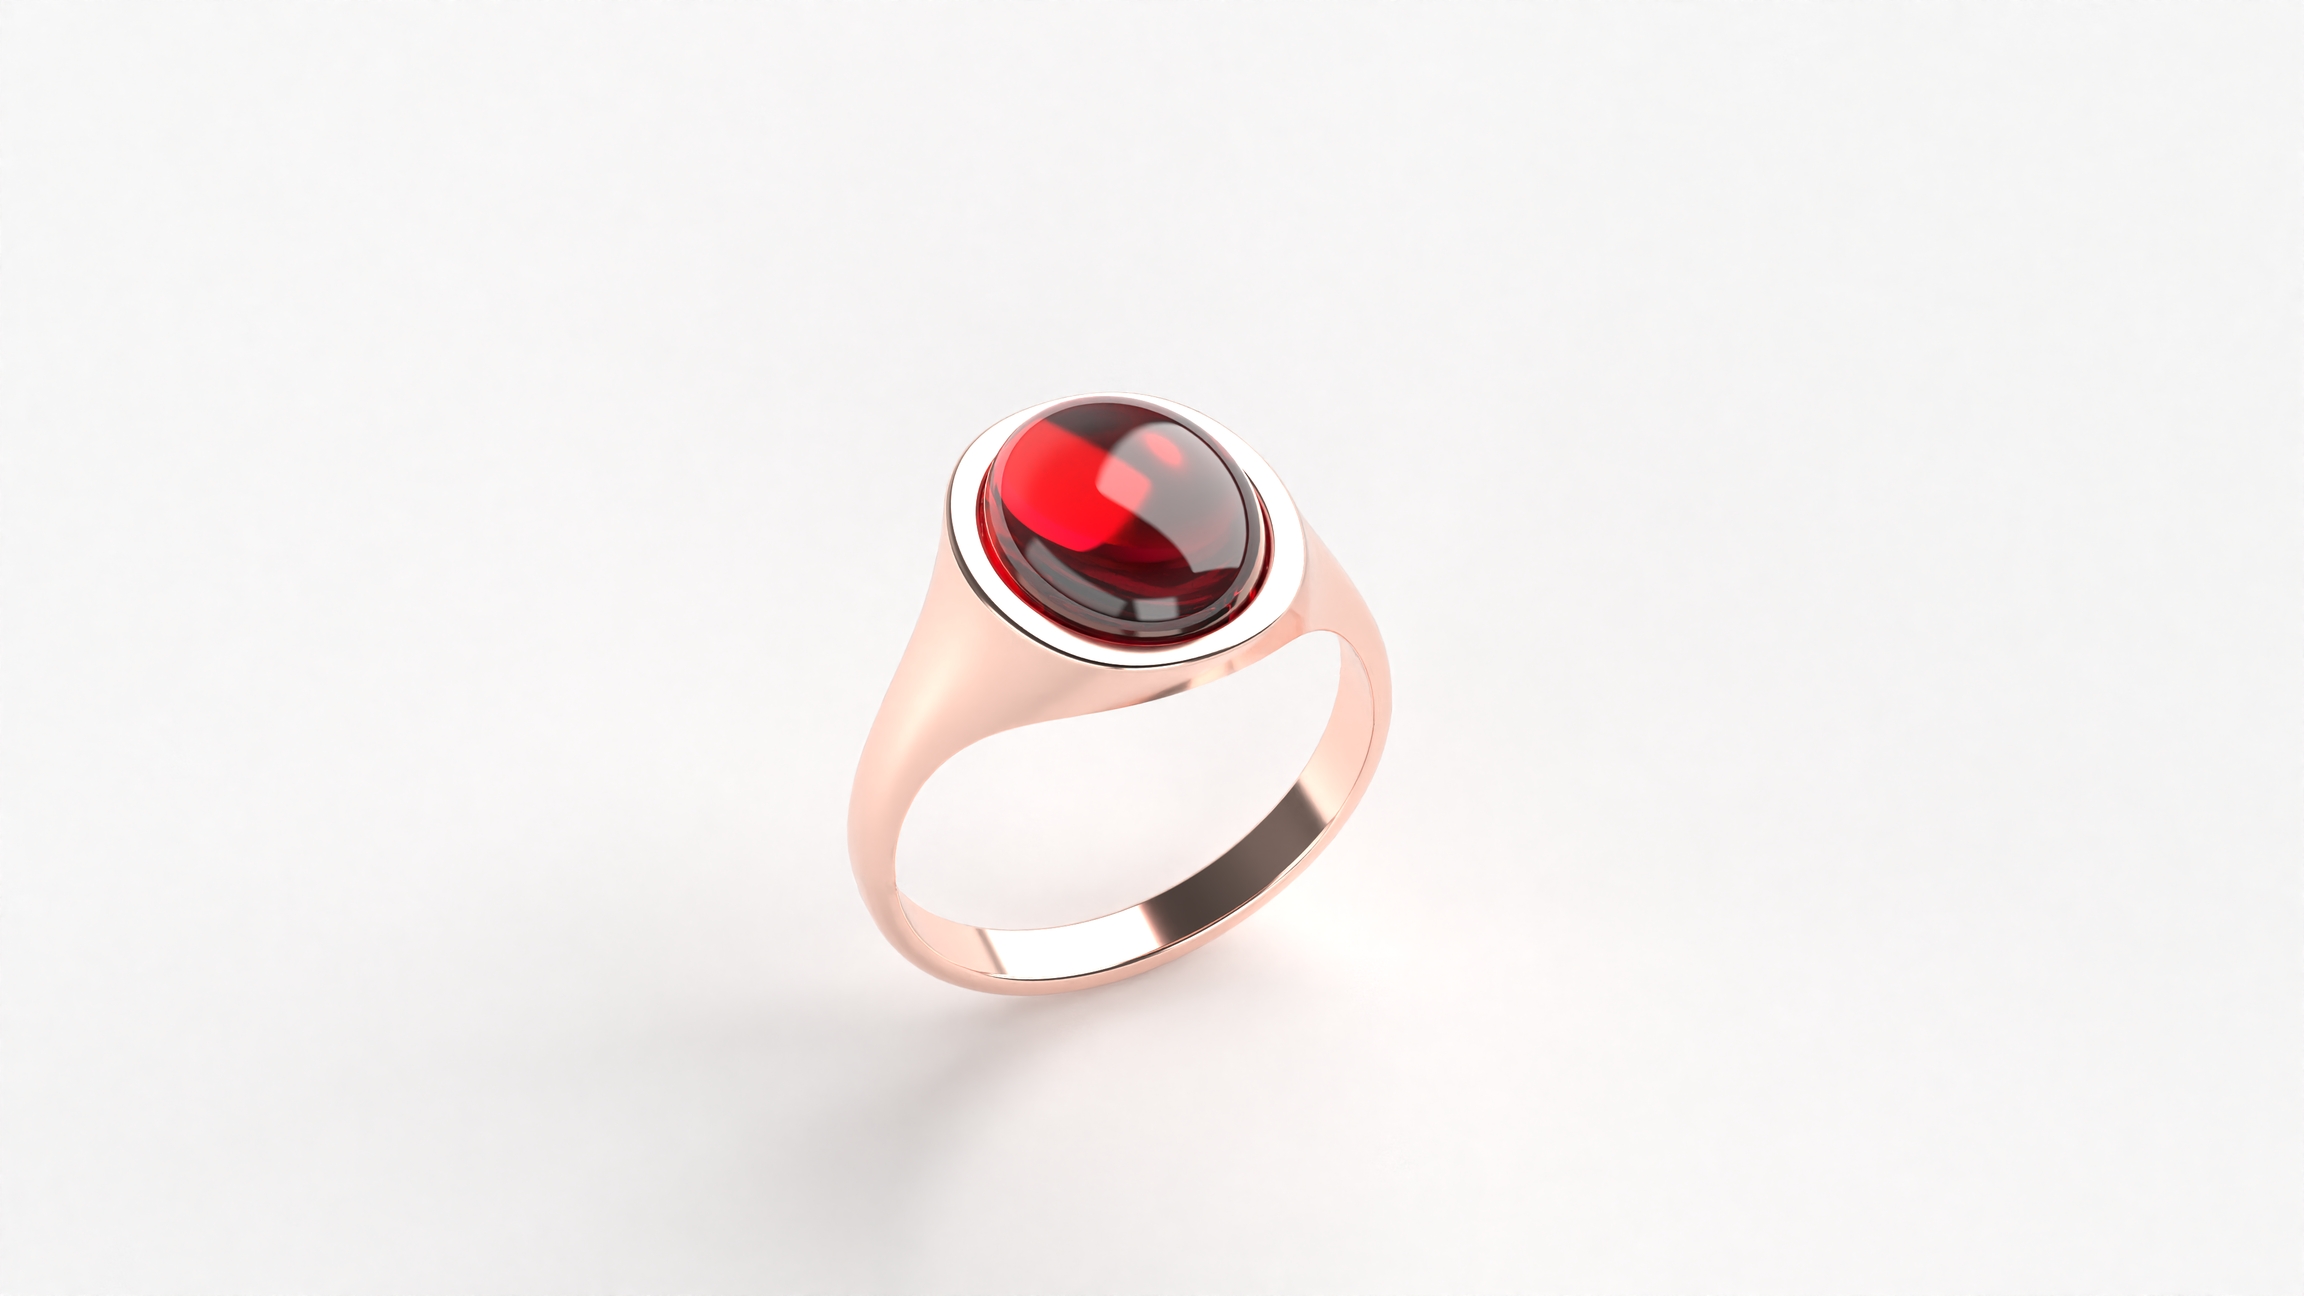
Enhancing and Rendering Learn how to add realistic detail with Edge Softening for a smooth, polished look in renderings. Bring the design to life by applying a Rose Gold 18k finish to the shank and a Ruby material to the cabochon. With the final settings for perspective, resolution, and lighting, you’ll achieve a stunning render ready to showcase.

Who Should Take This Course?
This course is ideal for CAD designers, jewelry artisans, or anyone looking to elevate their skills in 3D jewelry modeling. Whether you’re new to RhinoArtisan or looking to add engagement rings to your portfolio, this course will guide you through every step.
Course Requirements
You’ll need RhinoArtisan software and a basic understanding of CAD commands. Each step is carefully explained, ensuring ease of following along regardless of experience level.
Last updated
Was this helpful?