Applying Environments
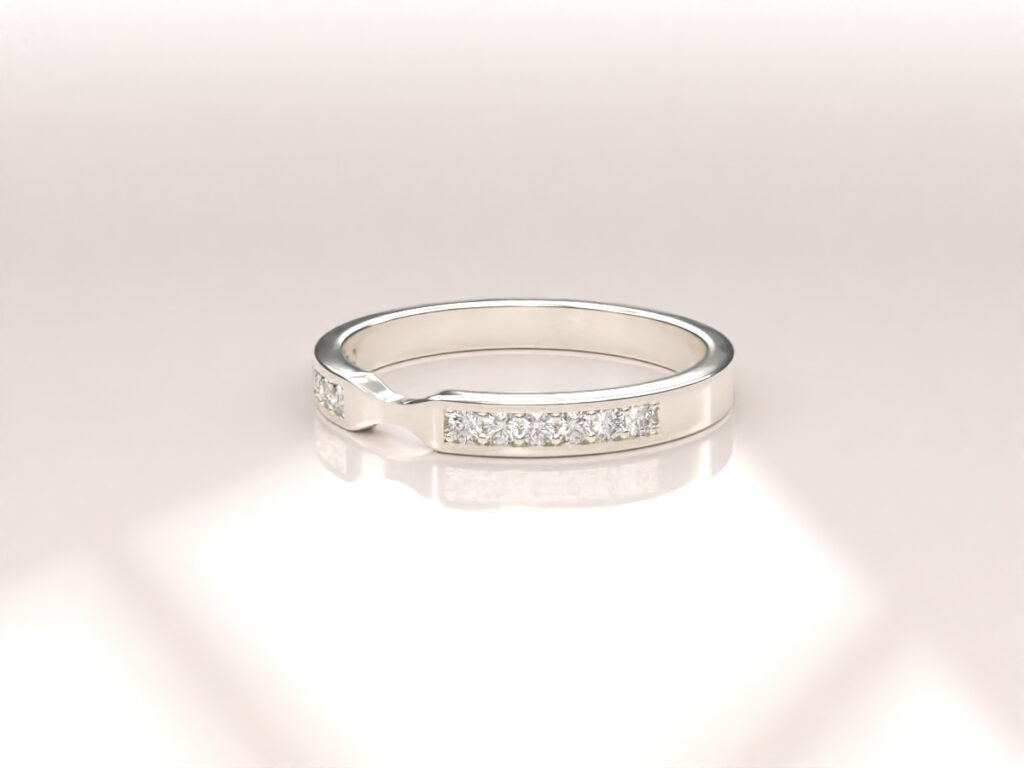
Lighting is fundamental to rendering a model. Even having the final materials, the result is not real without adequate lighting. By applying an environment we can observe the difference, colors and realistic reflections.

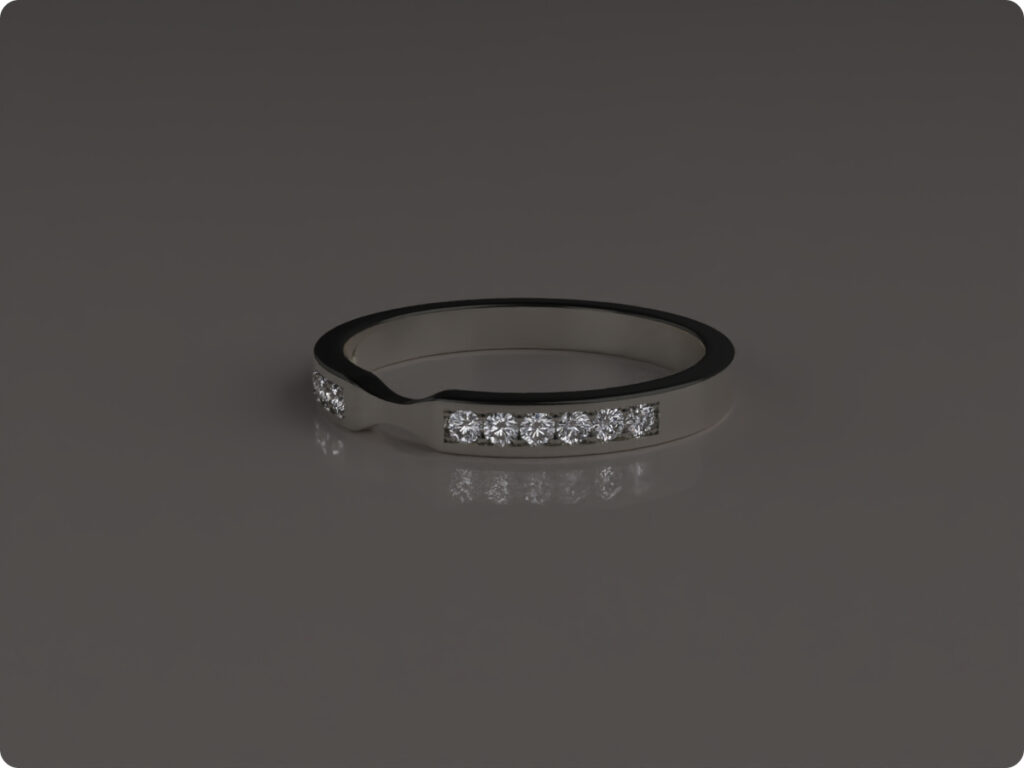
To begin with, we must know that the materials we have are correctly illuminated. When applied to a model it automatically generates its own lighting. As you can see in this image, the diamonds have been assigned the diamond material, making them visible even though the scene isn't properly illuminated. This ease of applying materials in RhinoArtisan greatly facilitates the final renders.

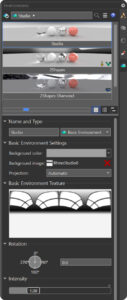
In the Environments panel, we don't have any base environment. When applying a material to the model we see how the environments appear in this tab.

As happened with the materials, The icons at the lower-right corner of an environment thumbnail indicate usages of the environment.
![]() The environment is used for reflection and refraction raytracing.
The environment is used for reflection and refraction raytracing.
![]() The environment is used as the skylight for lighting the scene.
The environment is used as the skylight for lighting the scene.
![]() The environment is used as a 360° background.
The environment is used as a 360° background.
![]() The external background image used by the environment is missing.
The external background image used by the environment is missing.
They also have features that we can adjust, which we will see later.
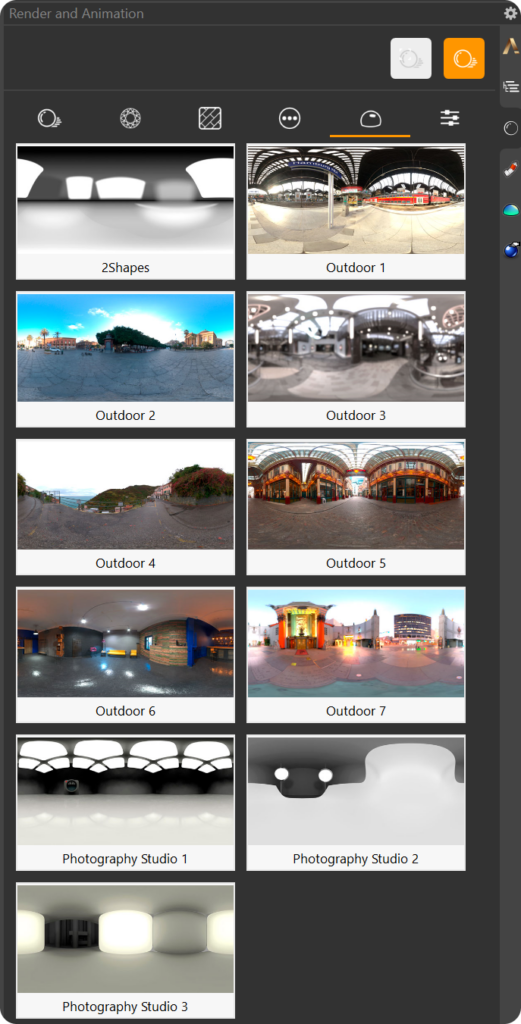
Additionally, we can apply different environments from the RhinoArtisan library. To do this, go to the Render and Animation panel, then navigate to the fifth tab, where you’ll find various types of environments. Simply double-click on an environment to apply it to your scene.

Last updated
Was this helpful?