Reference Curve
Objective: Create reference curves for the earring design with specific measurements.
Step 1: Curve Command
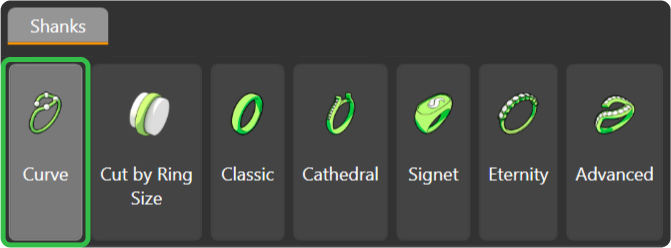
To begin with our final model in the collection, go to the Shanks tab and click on the Curve command.
Step 2: Ring Size
Create a reference curve by selecting United States and size 7.
Step 3: Gem Studio
Then, go to the Diamonds tab and use the Gem Studio command. Change the diameter to 6 millimeters and add the gem.
Step 4: OSnap and Move
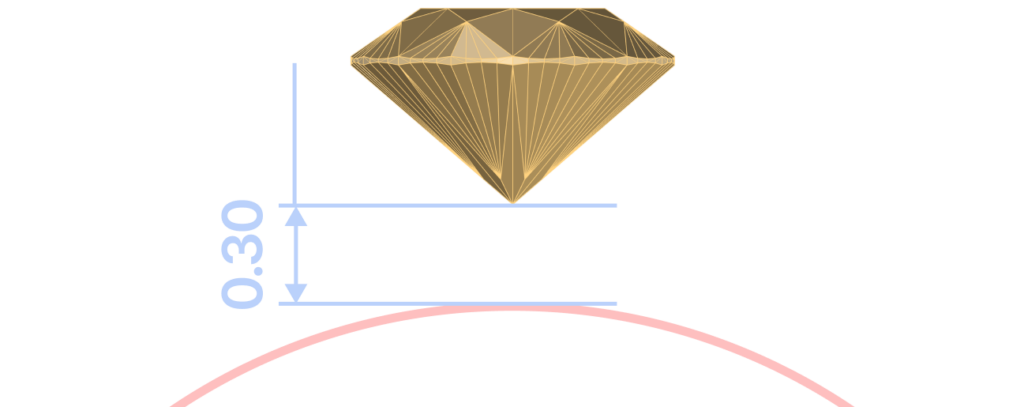
Type move in the command bar and select the bottom point of the gem. Move it to the top of the curve.
Step 5: Gem Position
Using the Gumball, move the gem 0.3 millimeters along the Y-axis.
Step 6: Circle Command
Now, create a new curve in the Curve tab. Use the Circle command.
Step 7: Create a new Curve
Select the center point by typing 0 and pressing Enter. Then, use the gem's fillet as a reference to create the curve, which will help position the elements of our ring accurately.
Video Lesson
Next Step: Measure the length of the curve to create the reference line.
Last updated