# Team
### Account Management
This section allows administrators to manage user accounts within the organization. You can add team members, assign roles, and control access levels.
* `Owner`: Full system access.
* `Supervisor`: Can manage users and system settings.
* `Designer`, `Sales`, `Production`, etc.: Role-based permissions tailored to typical jewelry workflows.
### Key Features
When you click the **“Add Member”** button in the team or organization settings, you can invite collaborators to join your workspace.
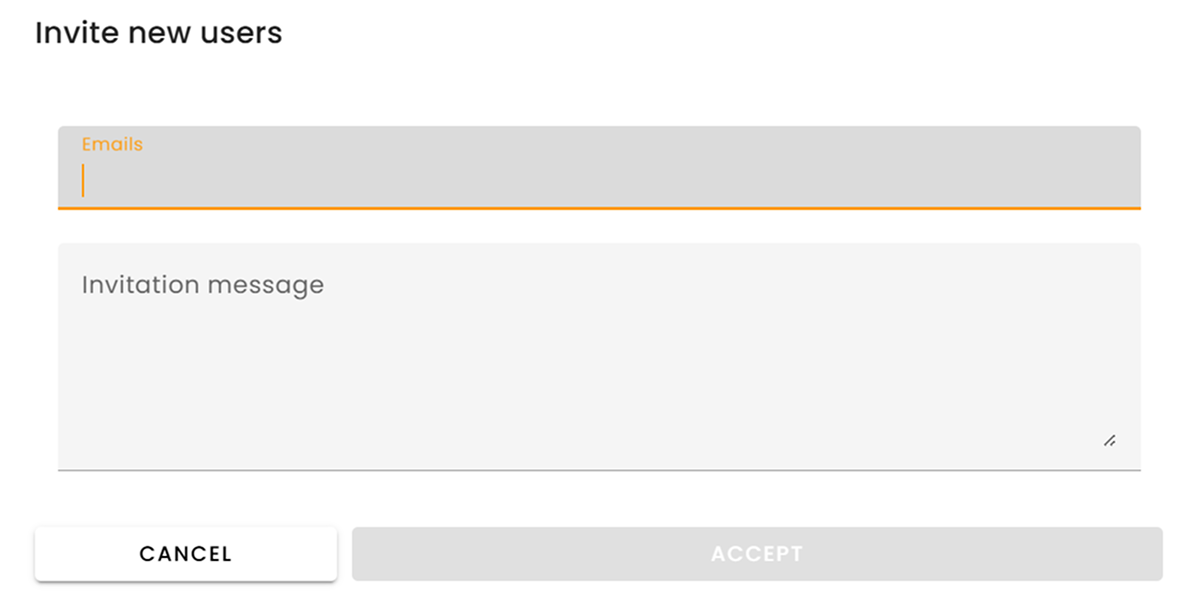
**Steps to Add a Member:**
1. Click the **"Add Member"** button.
2. Enter the email address of the person you want to invite.
3. Add an invitation message.
4. Click **"Send Invitation"**.
The platform will **automatically send an invitation** to the specified email.
* The invited user must **register or log in** using that email address in order to accept the invitation.
* Once accepted, they will become part of your organization and will have access based on the **role and permissions** you assign.
### **Assign User Roles**
Roles can be set during the invitation process or edited later. Each member in your organization is assigned a **role**, which defines the **level of access and control** they have within the workspace. Roles are designed to ensure that each user can only perform actions relevant to their responsibilities.
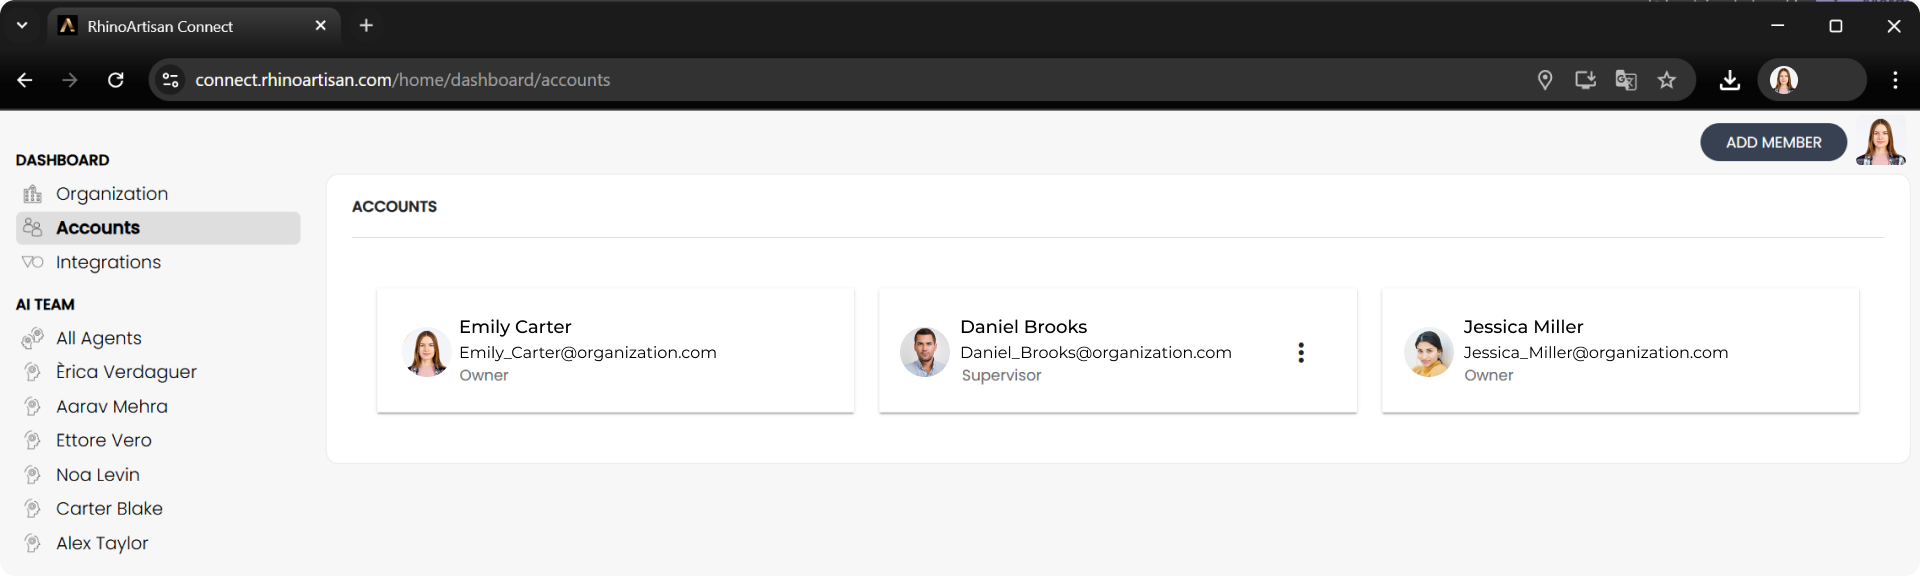
### **View Active Users**
Displays a list with:
* Full name
* Email
* Assigned role
* Edit and delete options