Quick Flow
Objective: Position the profile curve correctly along the shank curve.
Step 1: Flow Along Curve
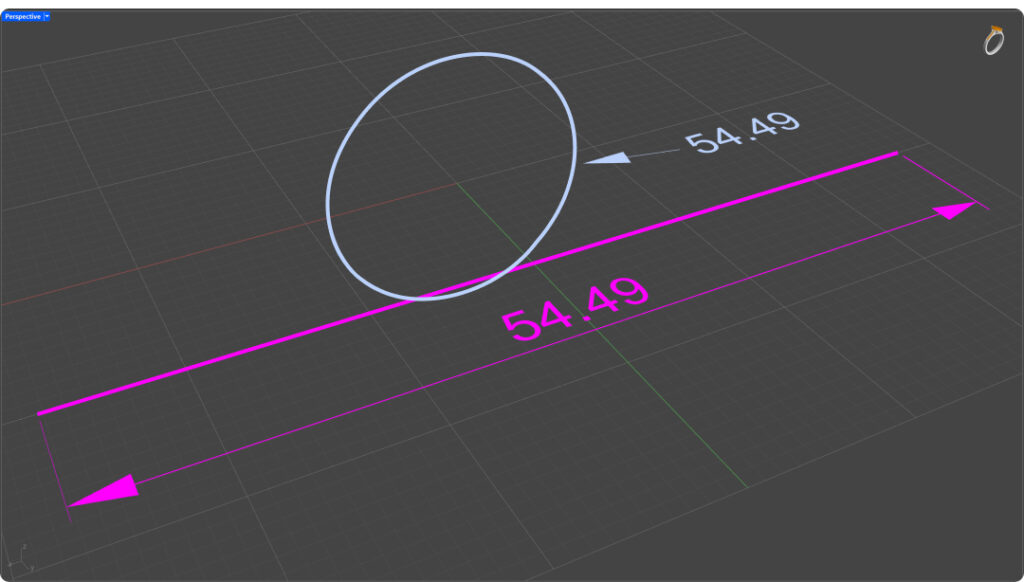
Before creating the profile of the ring, we need to ensure that the provided curves are available and have the correct length to use the "Quick Flow" command properly.
In the Analyze tab, run the Length command and select the line. Then use the command again to analyze the ring curve.


Step 2: Quick Flow
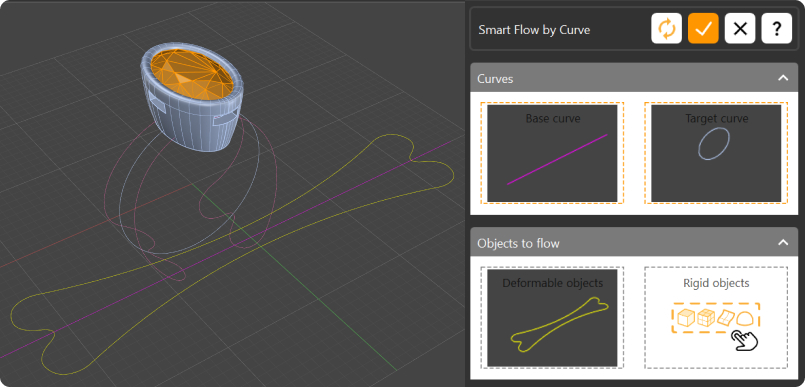
Go to the "Transform" tab and select the "Quick Flow" command.

Step 2: How to use Quick Flow
The base curve is the one with the reference length we need, which we ensured in Step 1.
The target curve is the curve where we want to flow something. In this case, we want to flow the profile curve into the ring curve.
For the Object to Flow option, there are two types:
Deformable: The object changes its shape to adapt to the target curve.
Rigid: The object does not change its shape, such as gems.

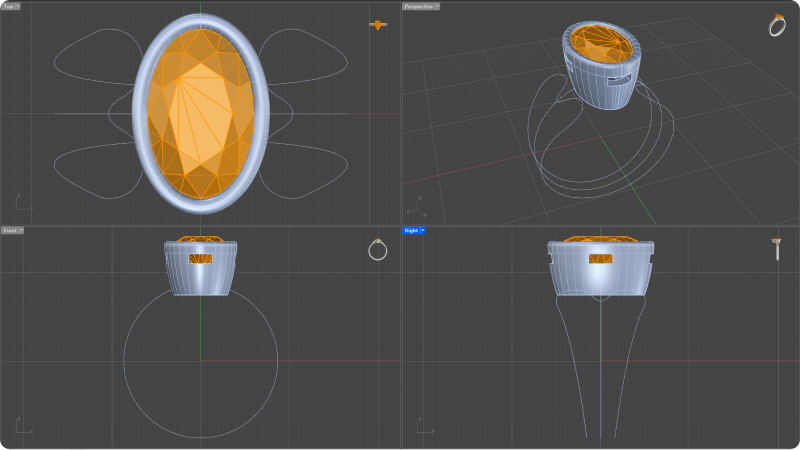
As we can see, the profile curve is not in the correct position, so we need to rotate it 180 degrees.
Step 3: Center
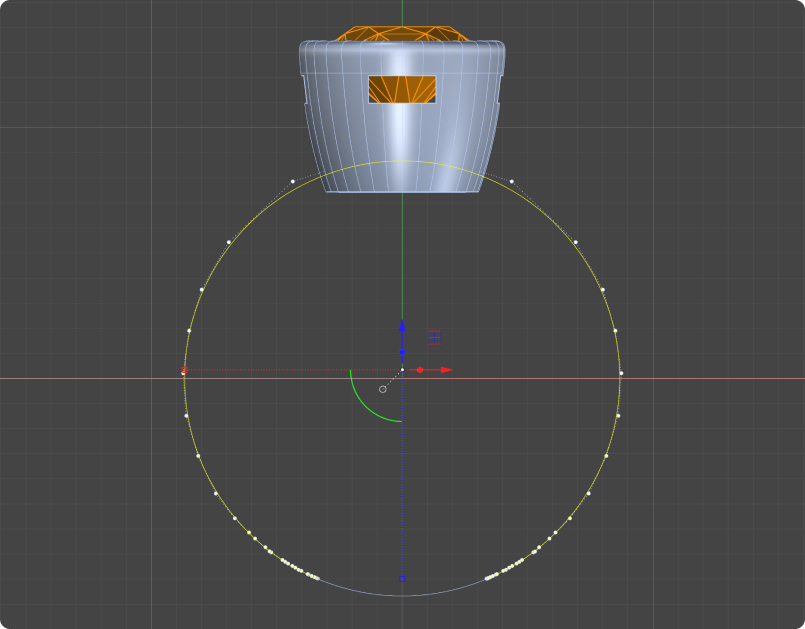
Select the profile curve, go to the front view, and notice that the center of the curve is not aligned with the center of the viewport. We need to take this into account for the rotation.

Step 4: Rotate
In the "transform tab" , use the "Rotate" command.

Type 0 to set the center at the plane of the viewport axis, and then rotate the curve 180 degrees, type 180 and press enter to align it correctly.

Video Lesson
Next Step: Use the Profile command to generate a custom shank from the profile curve.
Last updated
Was this helpful?